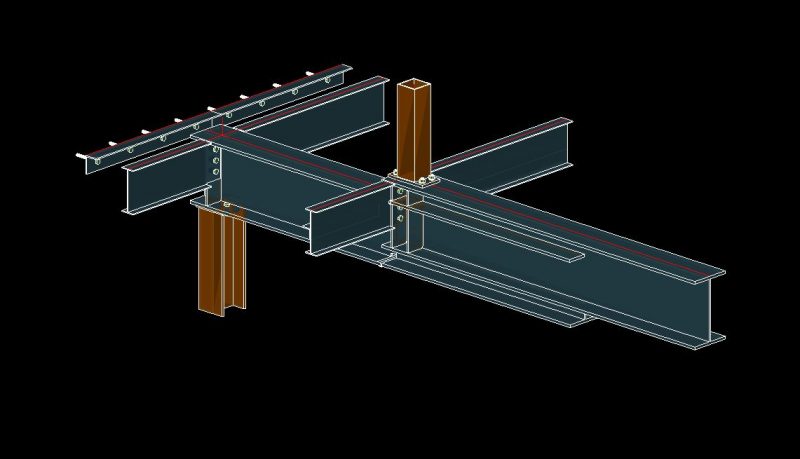
In addition, layers will help with turning specific grids or other items off in your drawings. Note: Always keep the layer called “Standard” as current after adding layers so that plates, columns, beams, shear studs, concrete etc.… automatically go to appropriate layers. Layers will be a very powerful selection tool as applied in view below to select diagonal braces. 
This will help you quickly select steel to identify and modify.
When modeling, applying layers generously as needed. From the HOME menu, open Project Settings icon – Projects Info 2 like below, OK B- Using layers. From the HOME menu, open Project Settings icon – Projects Info 1 like below. Use this after you make changes in your Project data. This can be modified later as well by using the Update Page Header shown below. 13Īdvance Steel - Detailing Setup Guide Chapter II - Project setup In your project setup, this will contain title block token output. When completed, pick Apply to save top left. This will not have an effect of your drawing output, just easy access of preferred sizes during modeling. But for an example you can start by adding your new and preferred Model roles and review other options. You can do this after a few projects, not necessarily now. Apply as you see fit and will be an ongoing process. See Chapter V-C D- Preferred Sizes This can be controlled in the Management Tools > Preferred Sizes. Below is an example of Template assembly with anchor rods. 
This will help when creating 2D Anchor Rod assembly drawings under T-sheets Chapter V. N and see the appropriate required look with projections in this example below.


